This REL mastered Galaxy Class beastie continues it’s progress under the skilled hands of artist Dan Grumeretz!!!

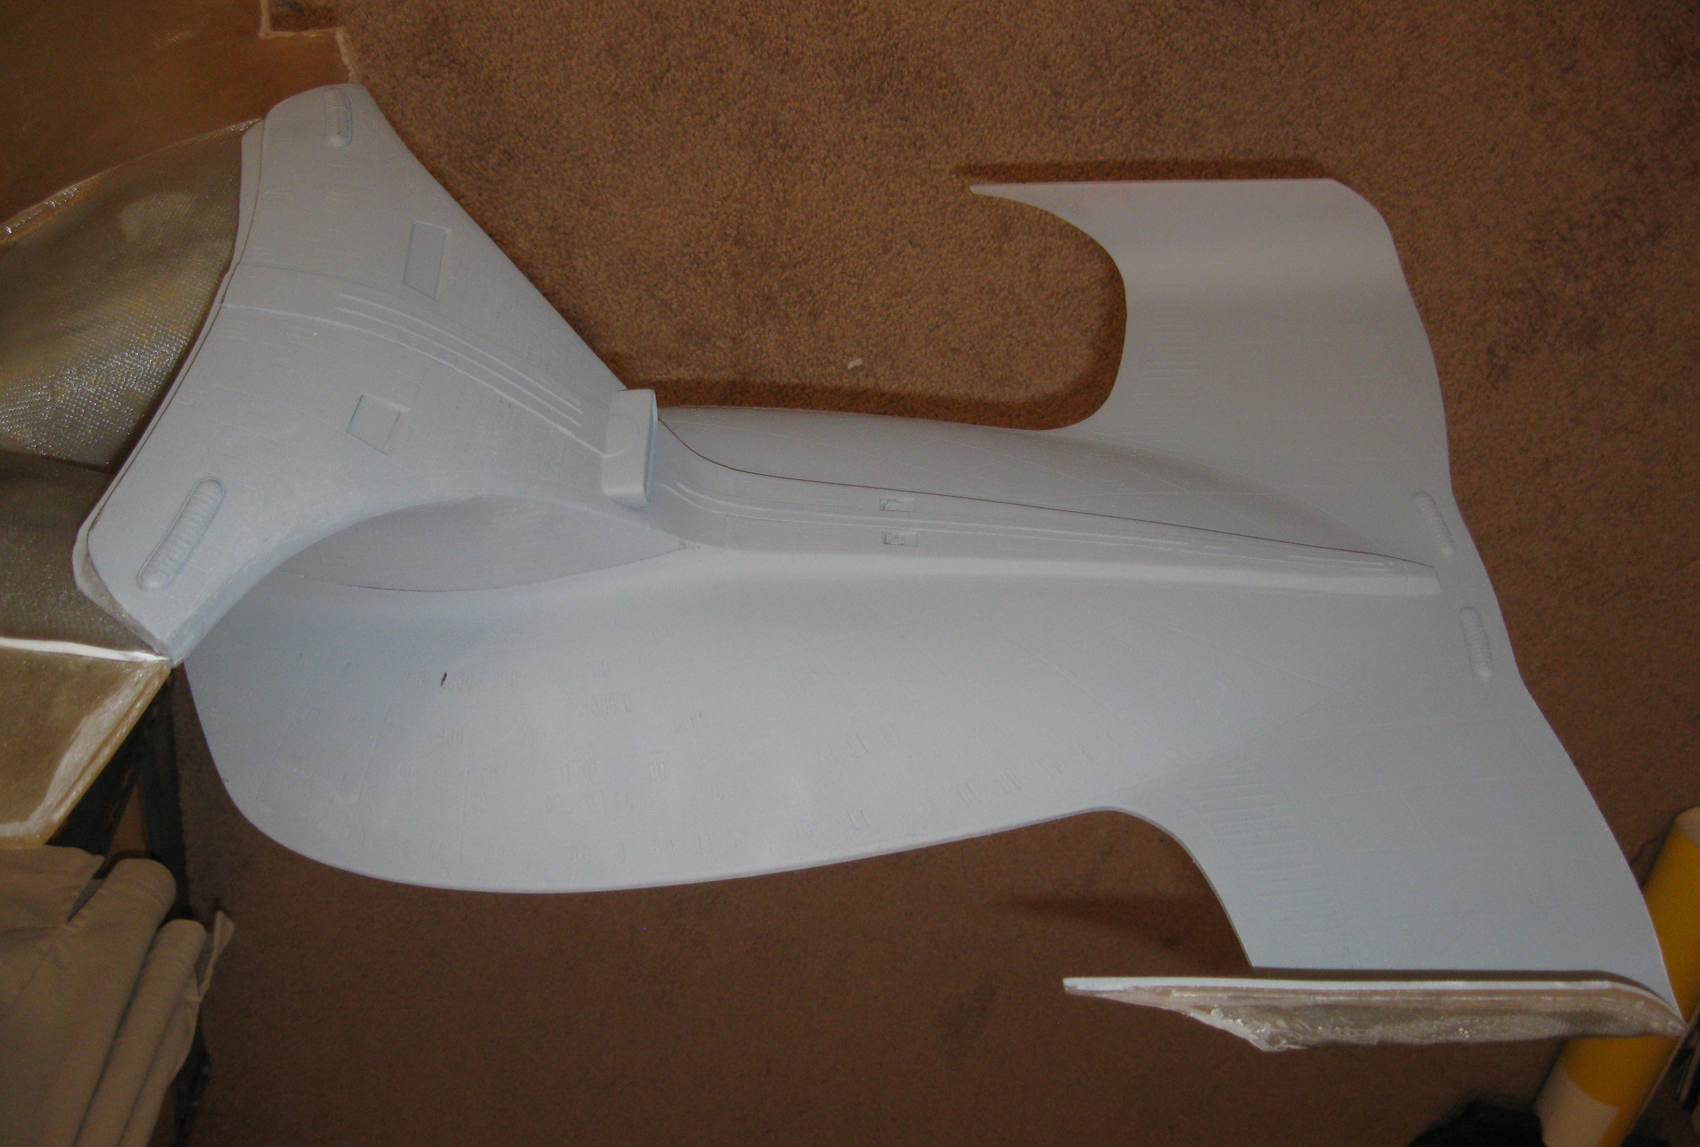
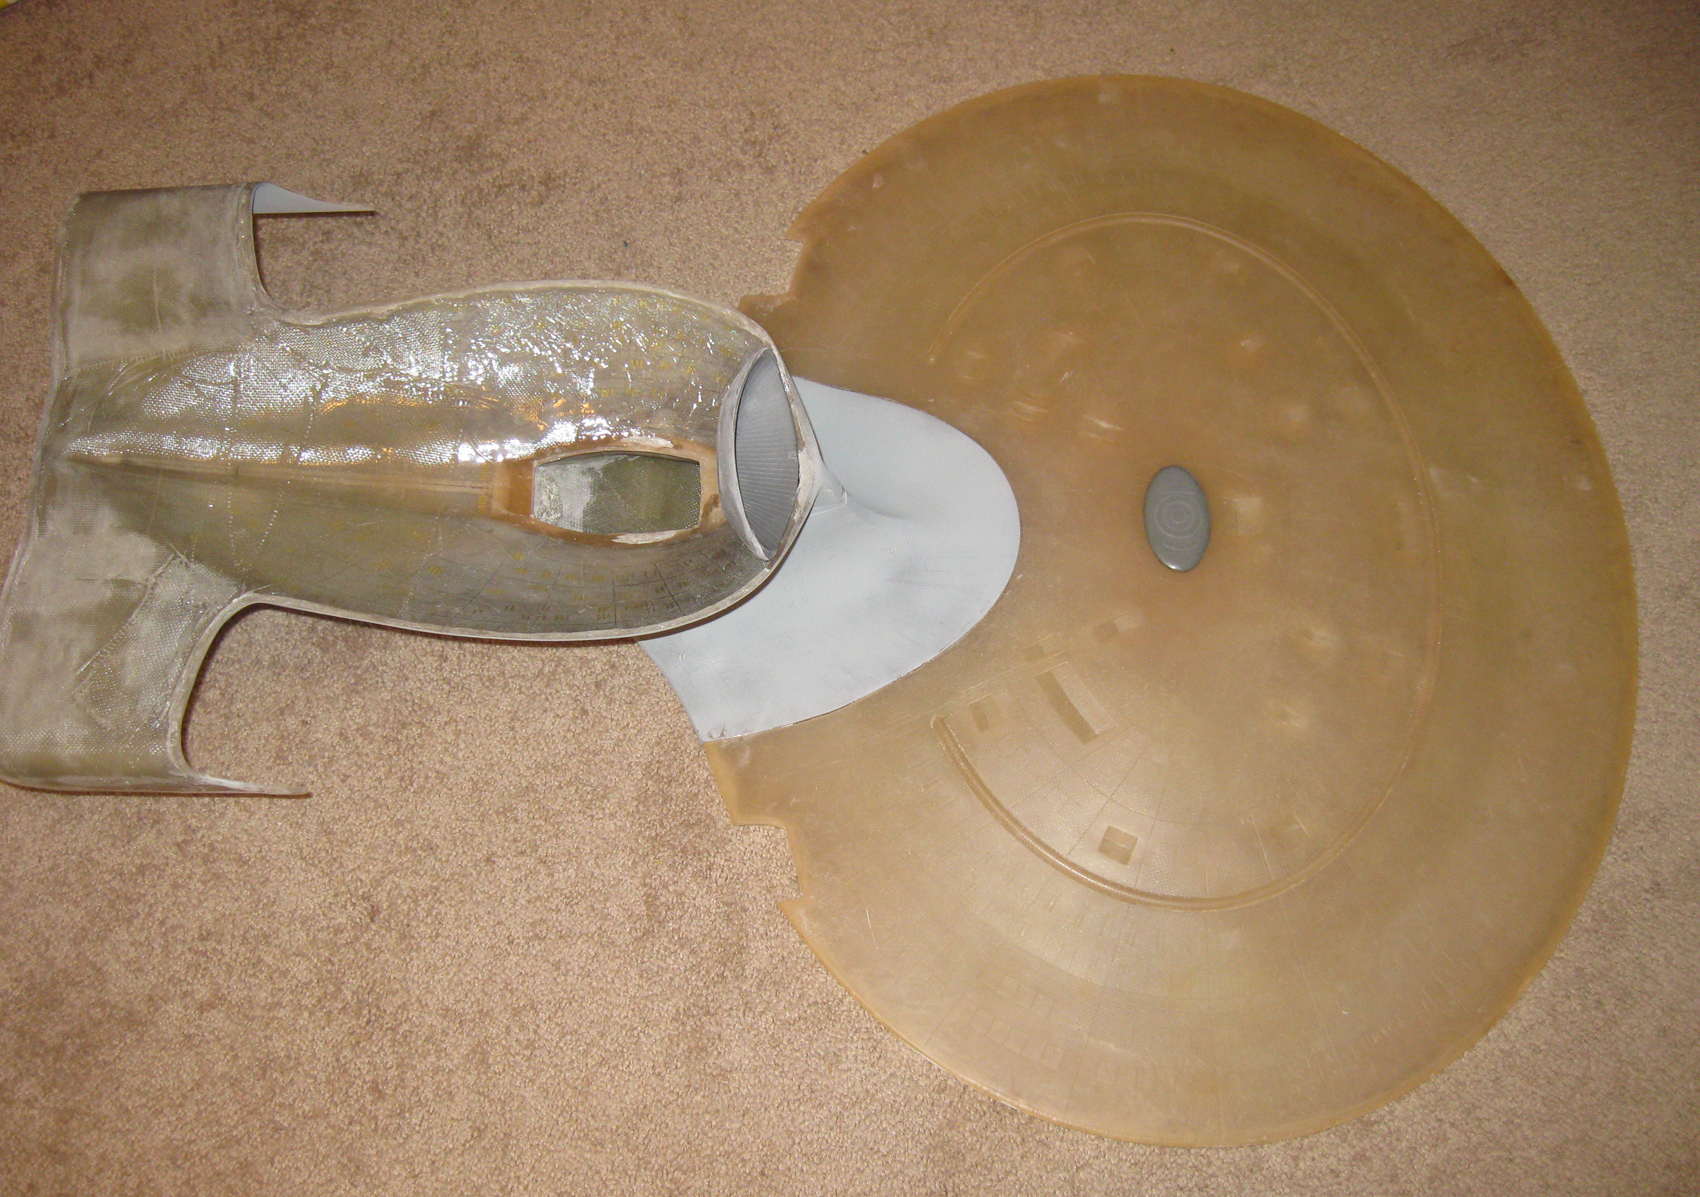
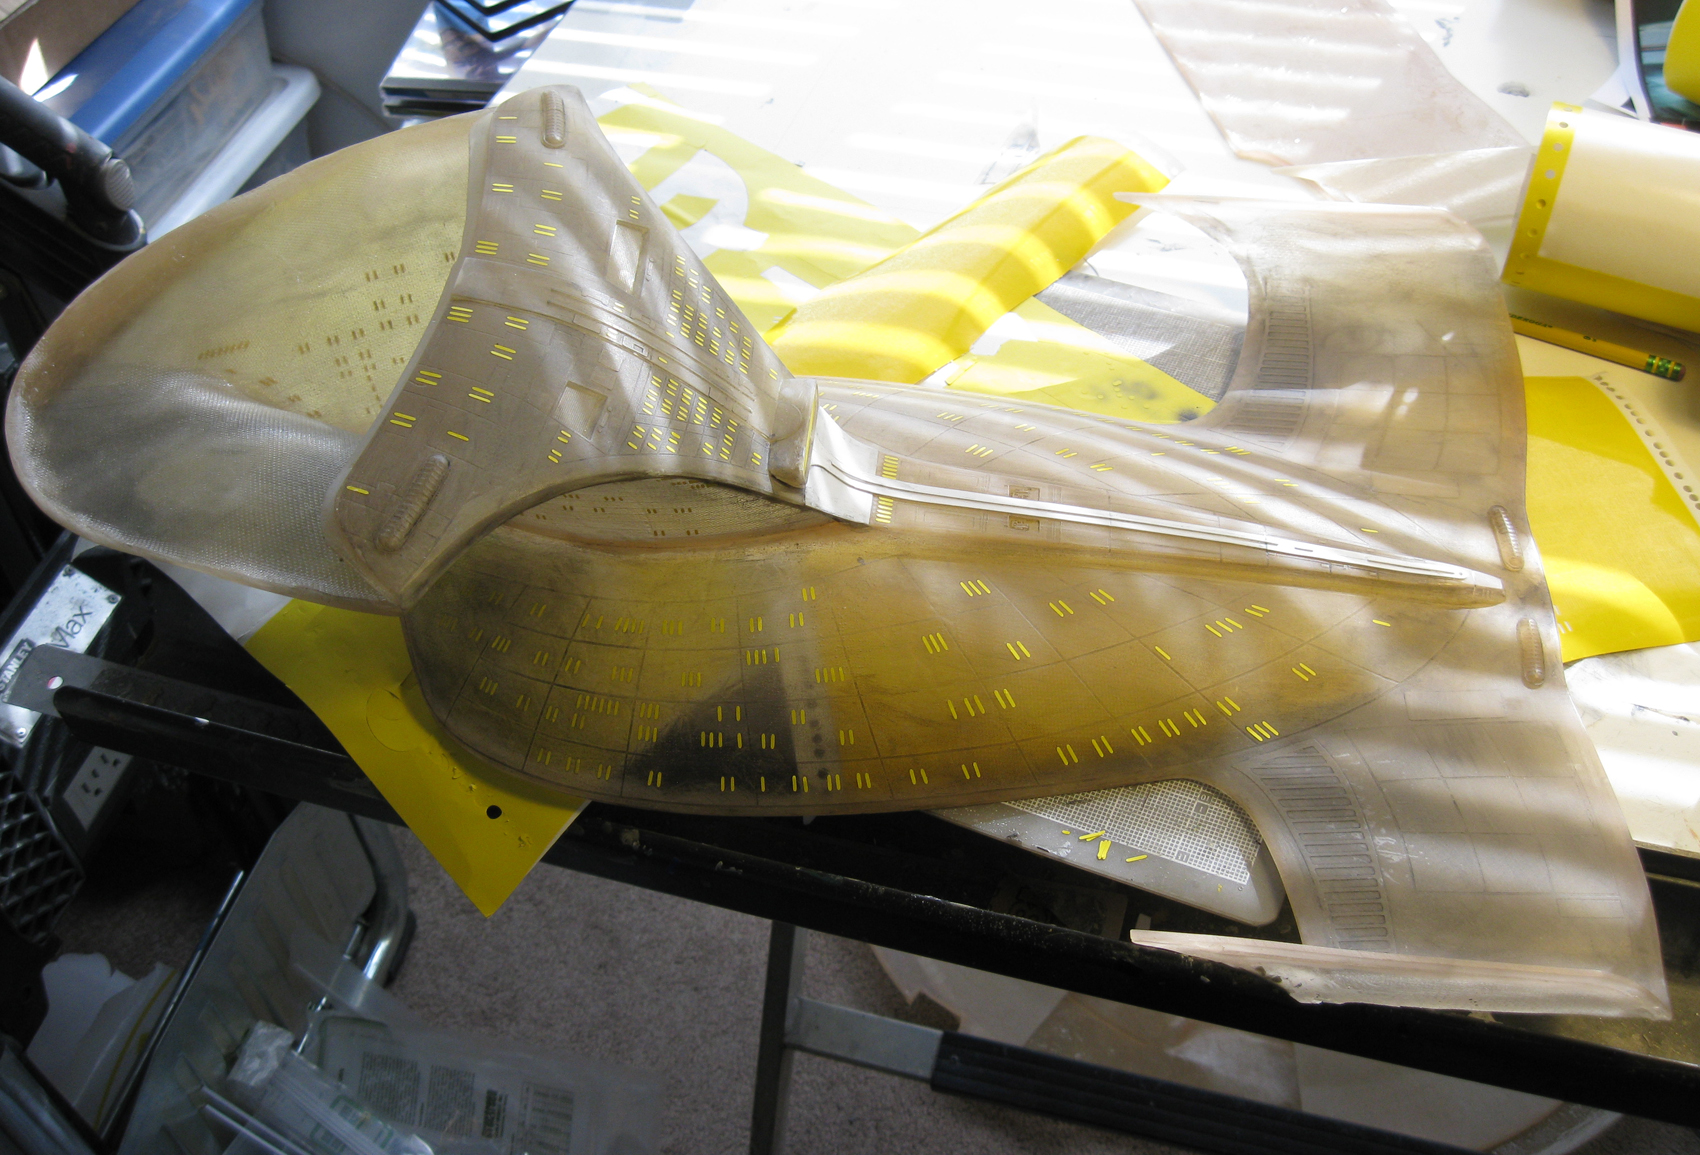
Quick update. I Went to fix the seam at the neck area and found that the spine detail is absent along the whole back. Curious… as one of Richard’s photos in primer shows the spine detail is there. No big deal… just an unexpected issue that is easily corrected as I would have had to recreate the part at the base of the neck anyway. I also shortened the windows there also, it looks more accurate.
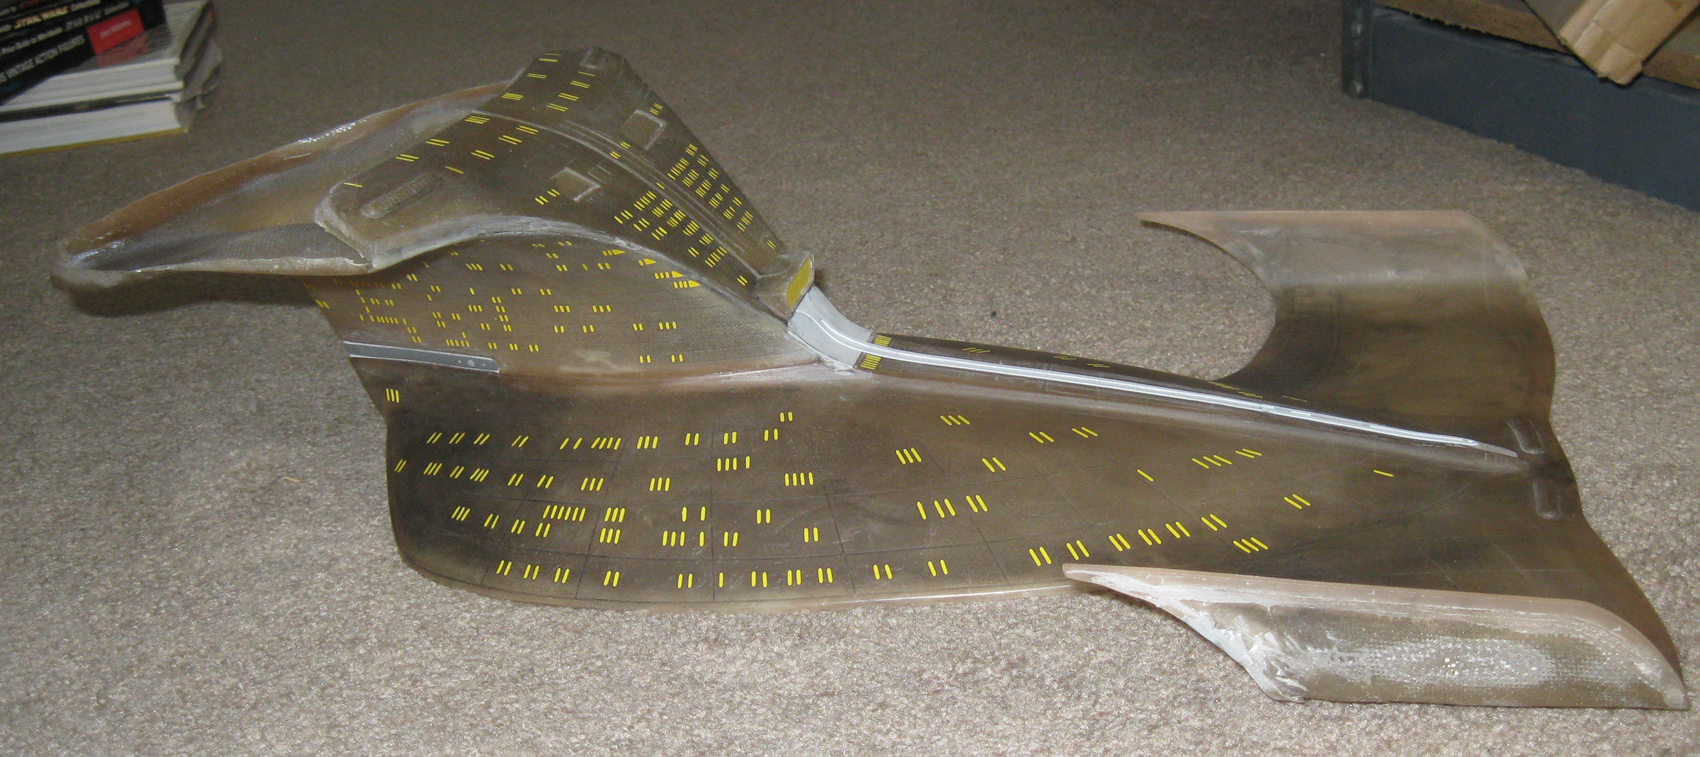
Not an issue, but an interesting find, on the Christie’s model there are two sets of seven windows at the base of the neck. On the 6 foot contact sheets there are also 7 windows on each side, except whatever
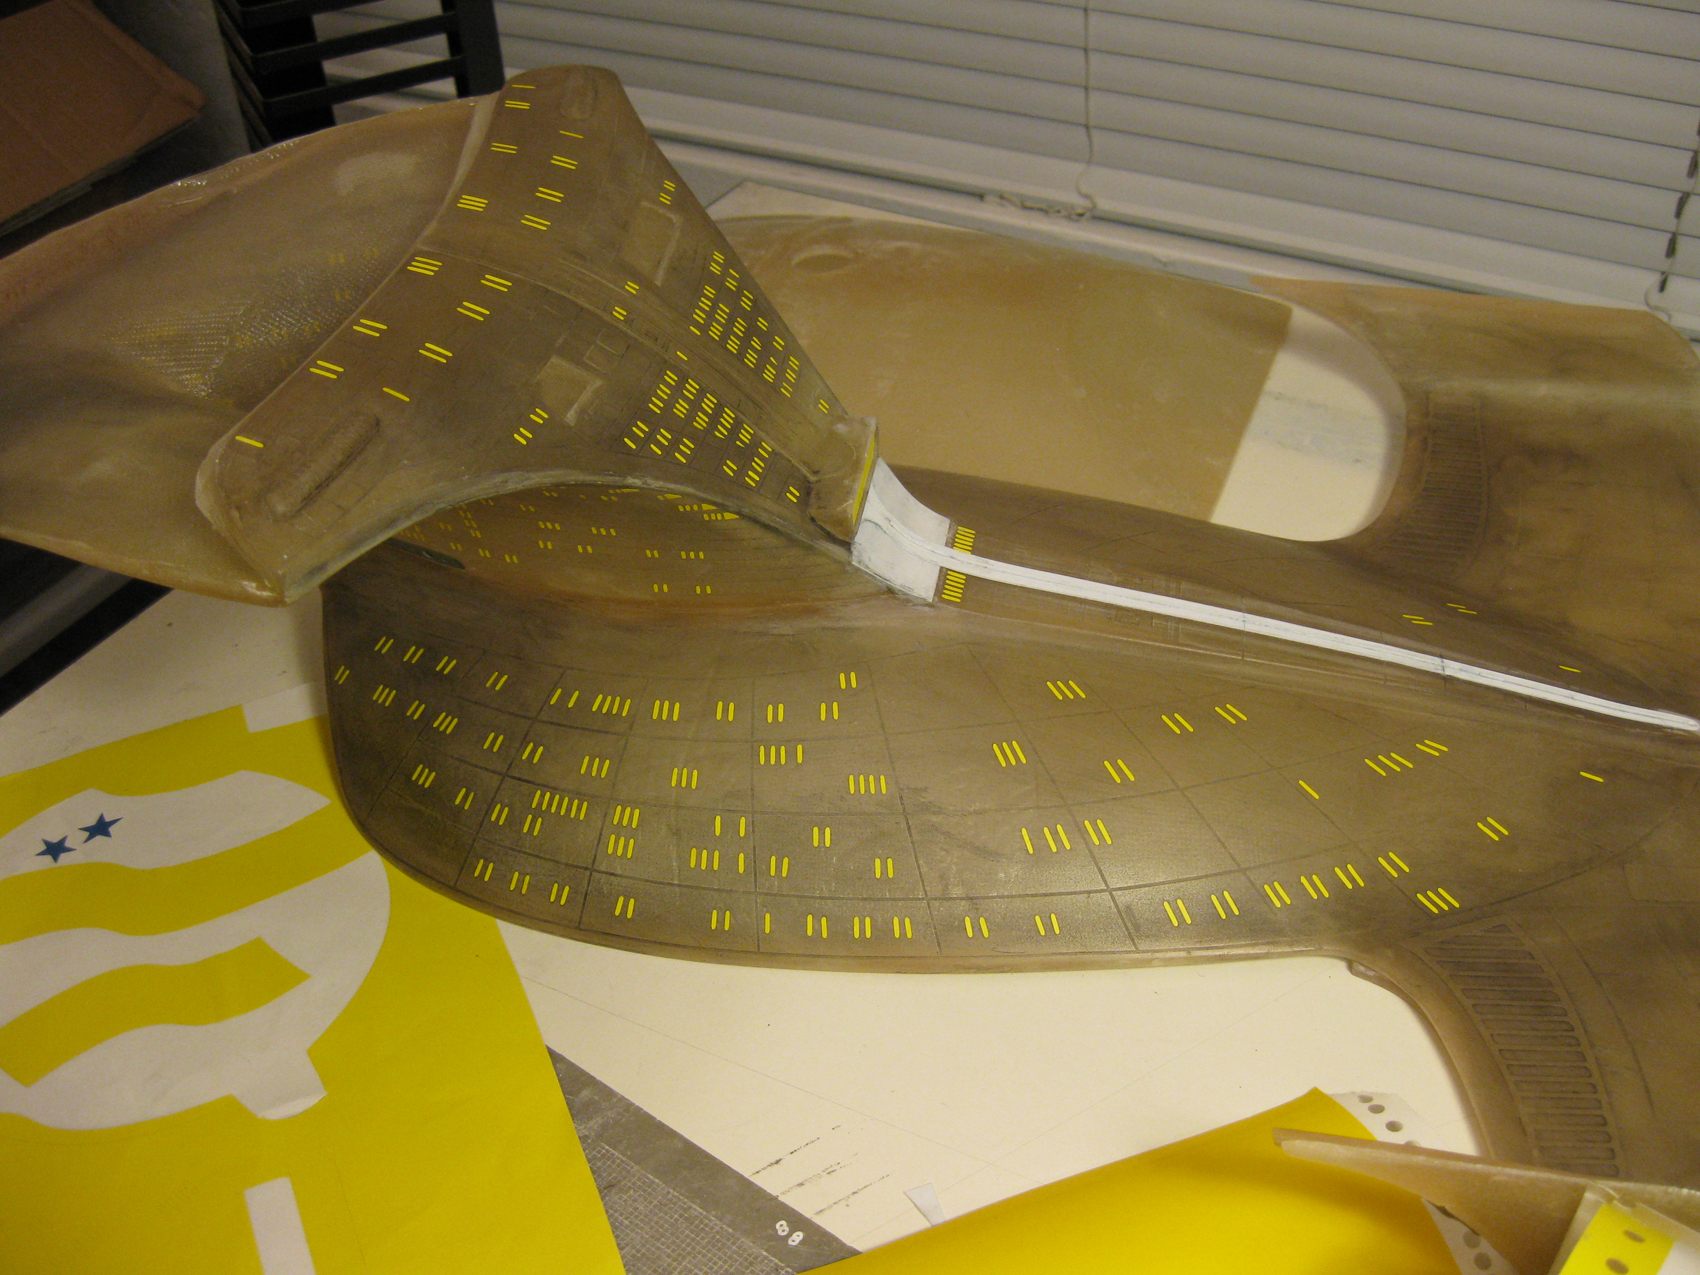
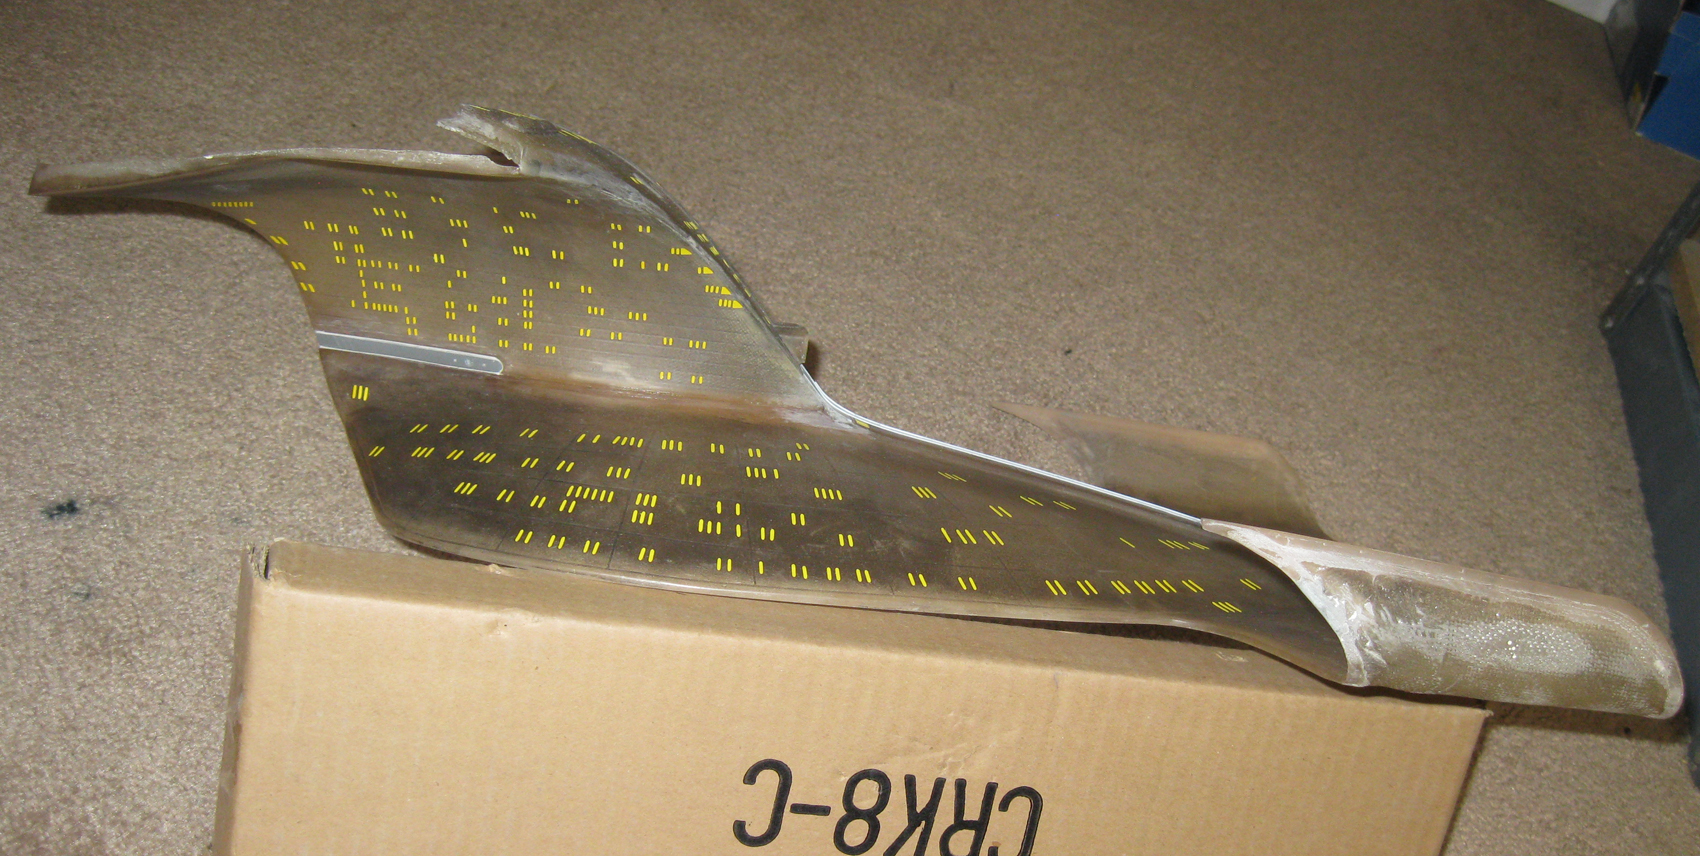
model is on sheet 7 you provided me has five windows on each side. So that is a different shooting model. Richard made this one with 6 on each side. He did a great thing by splitting the difference.Trying to get you primed photos. I am masking windows and keep finding new window shapes as I go. Because so, I then have to draw them, then cut them out first. The neck area has several different shape
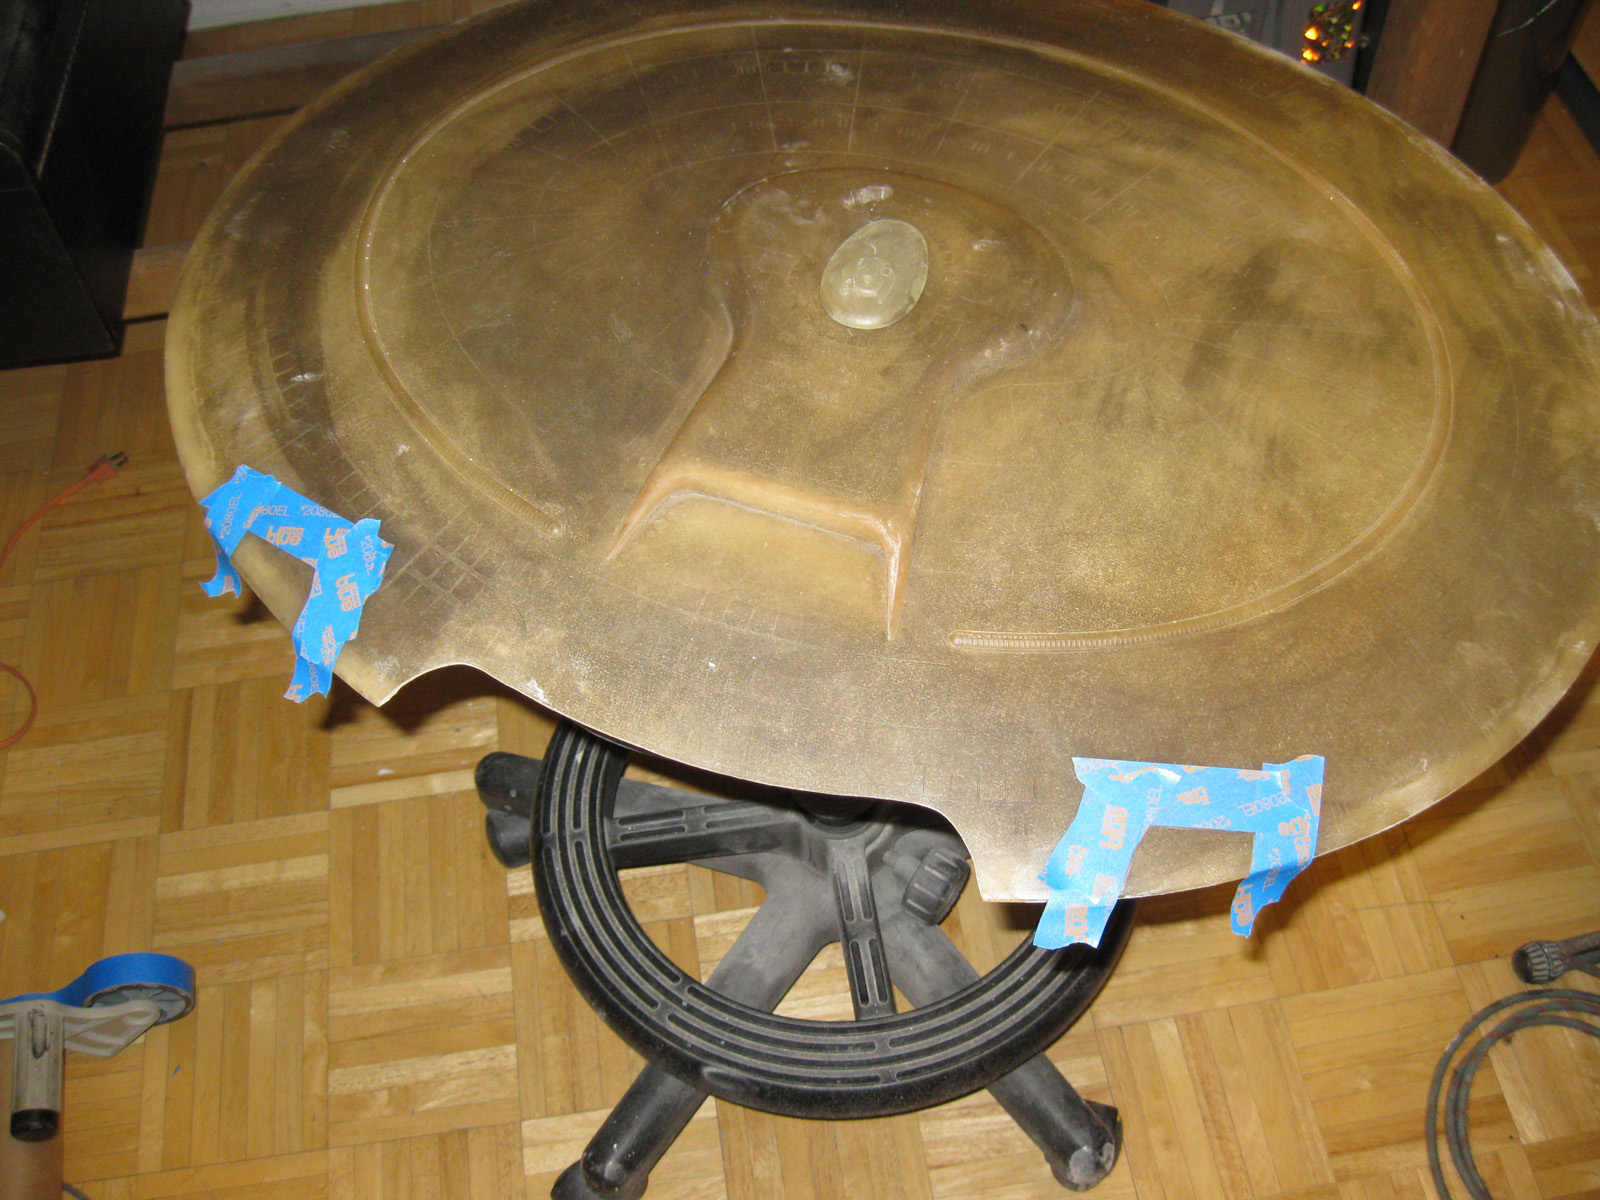
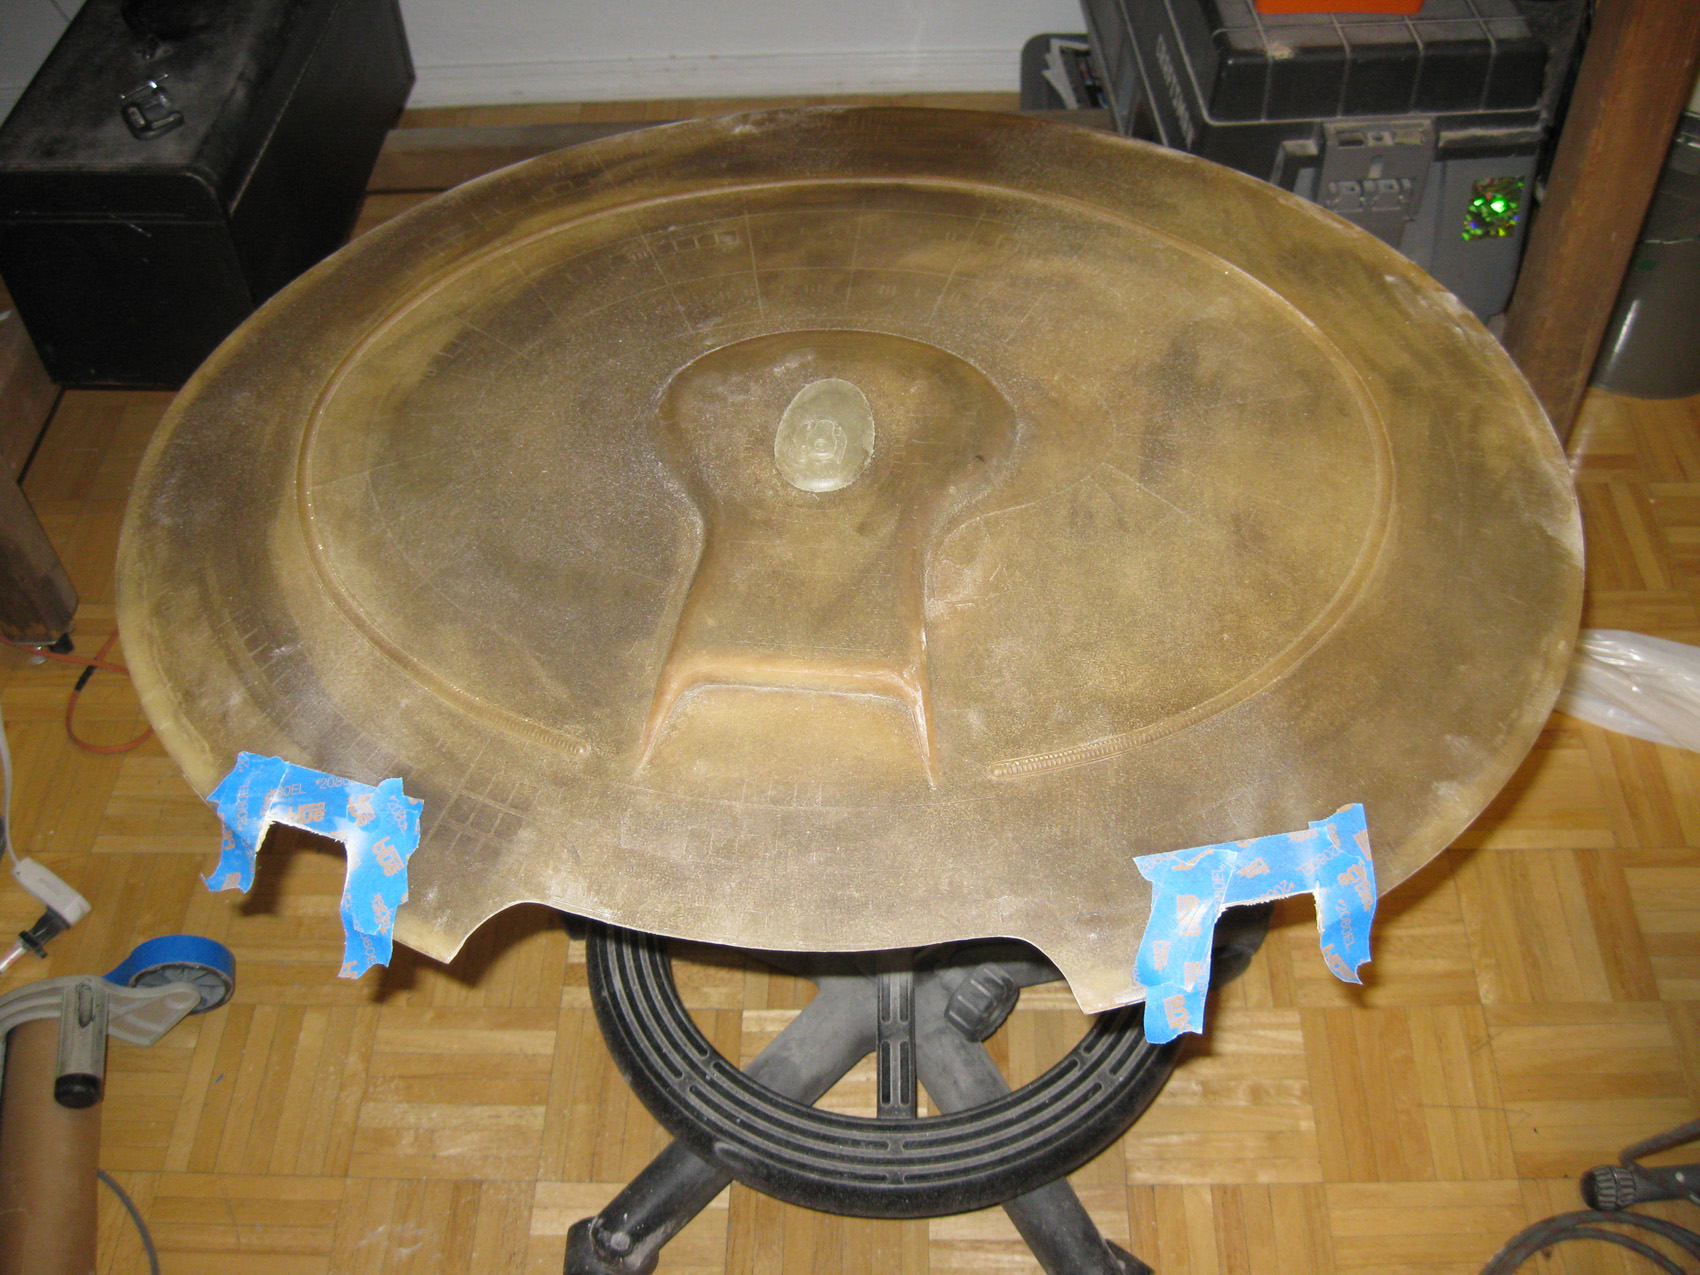
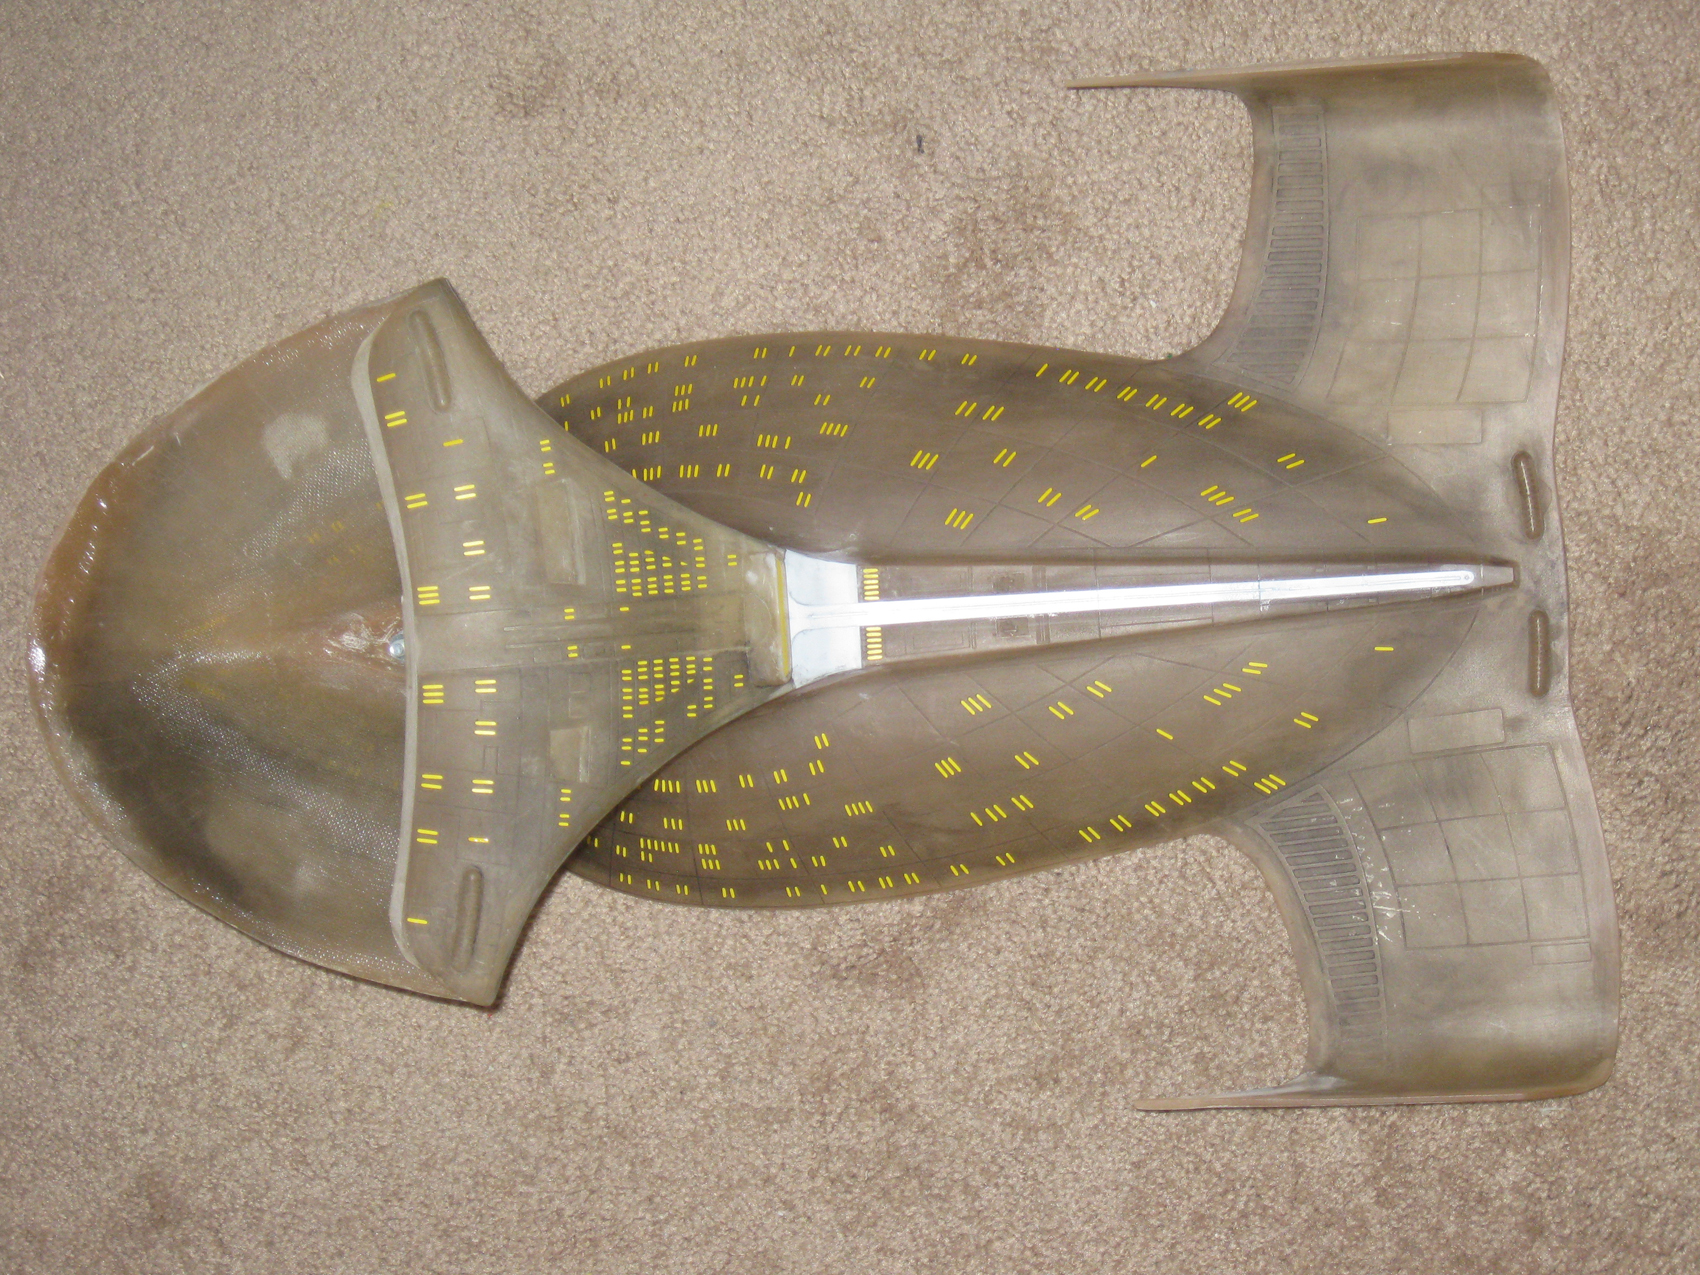
windows as well. Pretty sure the saucer section is mostly the same, except at the edge, and then the bridge and the area below the shuttle bay.Put a light primer on the lower hull, all windows masked. Although I see now there are some windows on the equator. Not a problem. They are not cast in the upper section so I did not see them. They are present on the lower hull and looking at photos they line up, so I can match those on the top. The
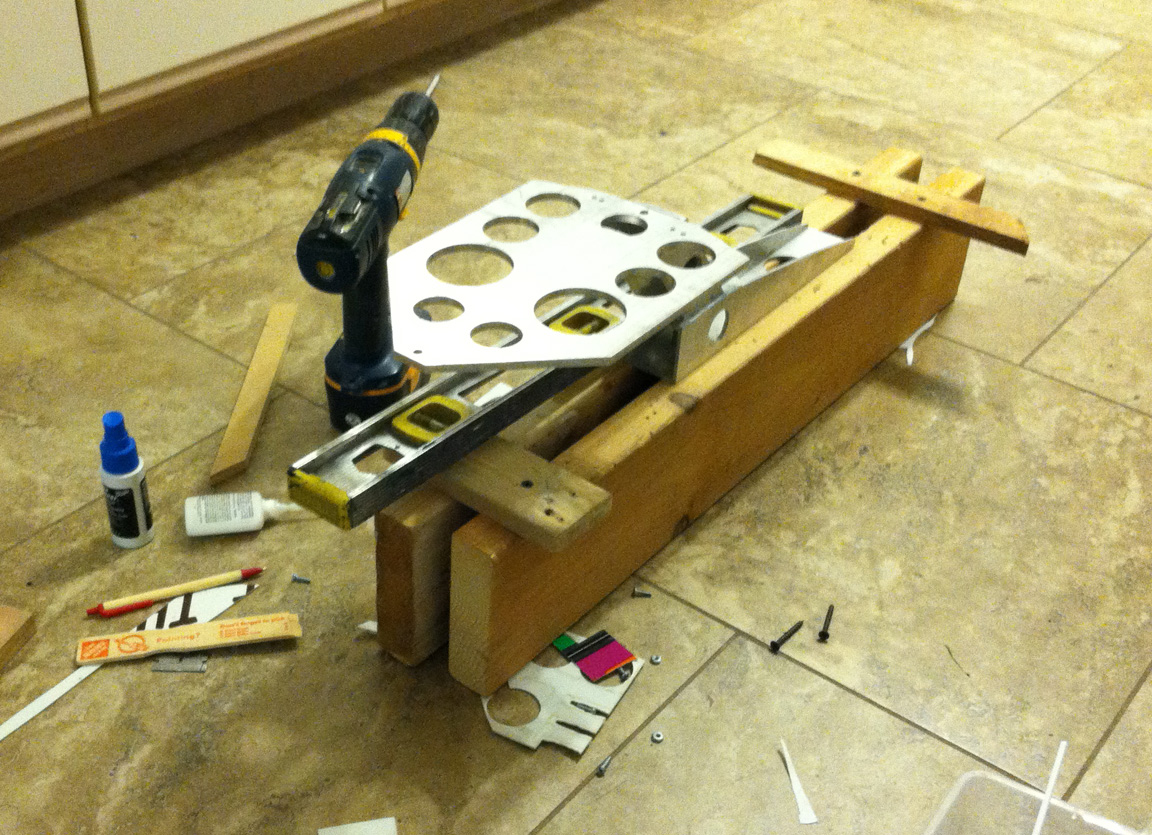
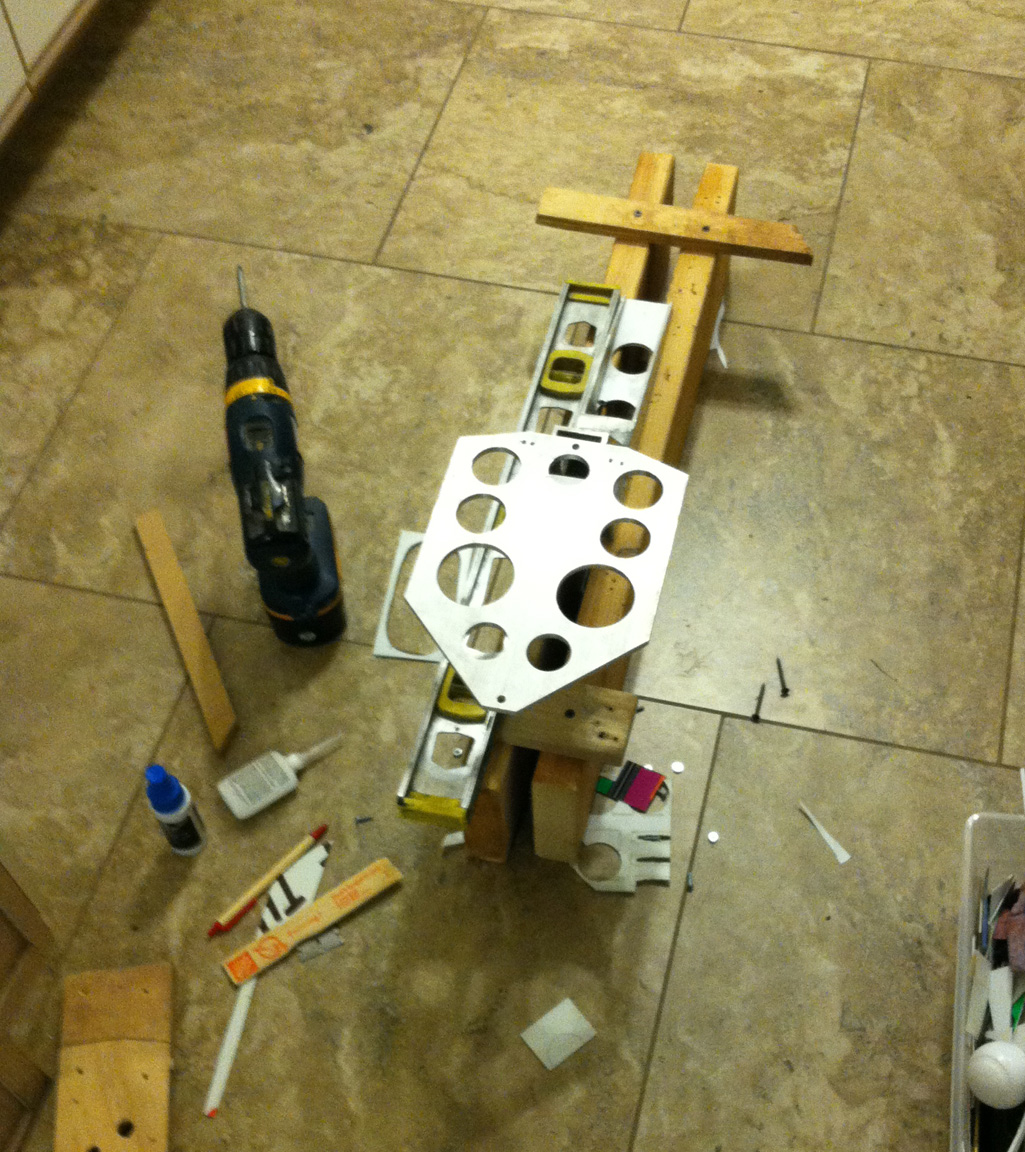
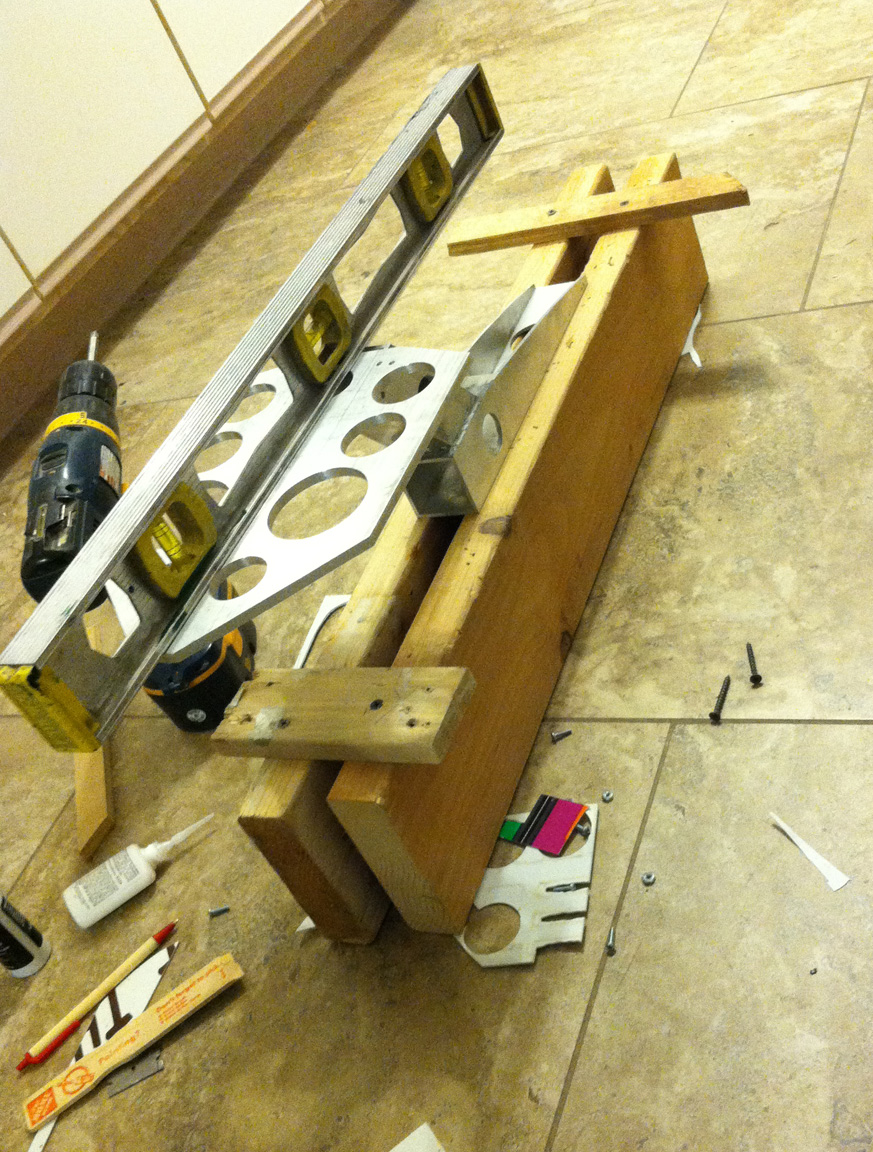
primer is light so I can wipe it off at that area. I tacked on the lower saucer, lines up pretty well. The lower hull has a slight twist at the ass end. This will get straightened out when I attach it to the armature. I need to go to Home Depot and get some metal pieces, nuts and bolts to finish the
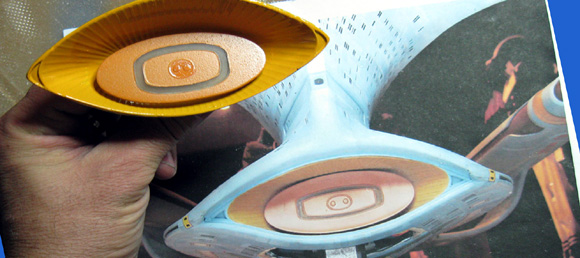
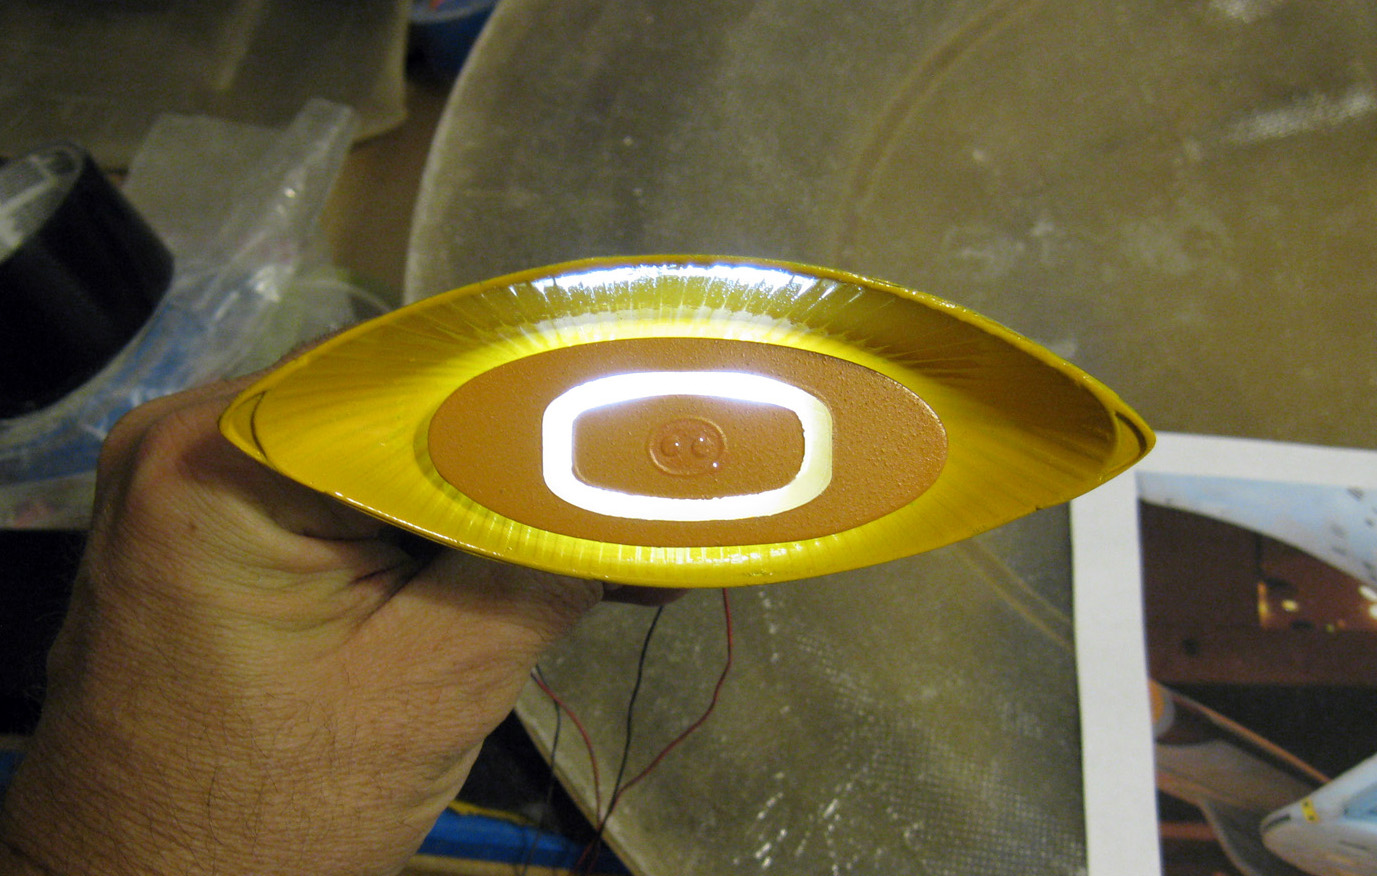
armature. I also tacked in the deflector dish so it lines up with the bottom of the hull. I can secure it and get wiring in there for in now. I will start masking saucer windows top and bottom. Also windows on lower hull which also needs the equator line fixed up. Once I get it secured to the armature I’ll
start running wires and laying out lights.I took a quick look at the Jim Key build, making it like the movie version. You can definitely get
tied up in technical details. They did a great job. It gets tempting when I see differences in
reference material. I remind myself that this is a display prop and will not
actually see real space! LOL. Our lighting will be much less complicated since it is for display and not for filming, but it will look like it is.Right now I will probably have three switches. General lights (windows), the engine lights, and navigation/strobes. Depends how the voltage load and bulb type goes.
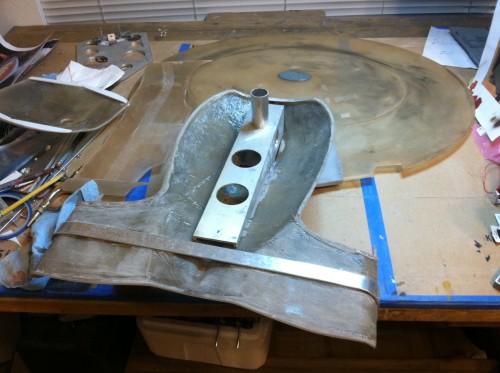
Fitting the engine support is a tight fit. I am slowly making shallow trench on both halves to get it in there. I will tie it into the main armature when fit issues are done. As stated before, the little twist in the hull will straighten out when it is all tied in. In test fitting, you can see the metal through the hull. I took apart the provided armature that came with the kit. It wasn’t quite straight and needed to be adjusted a tiny bit. No biggie.
More to come!
Dan